


Create Custom Drop Shadow in Photoshop

May 1, 2023
Updated:
May 1, 2023
Featured & Recent Articles


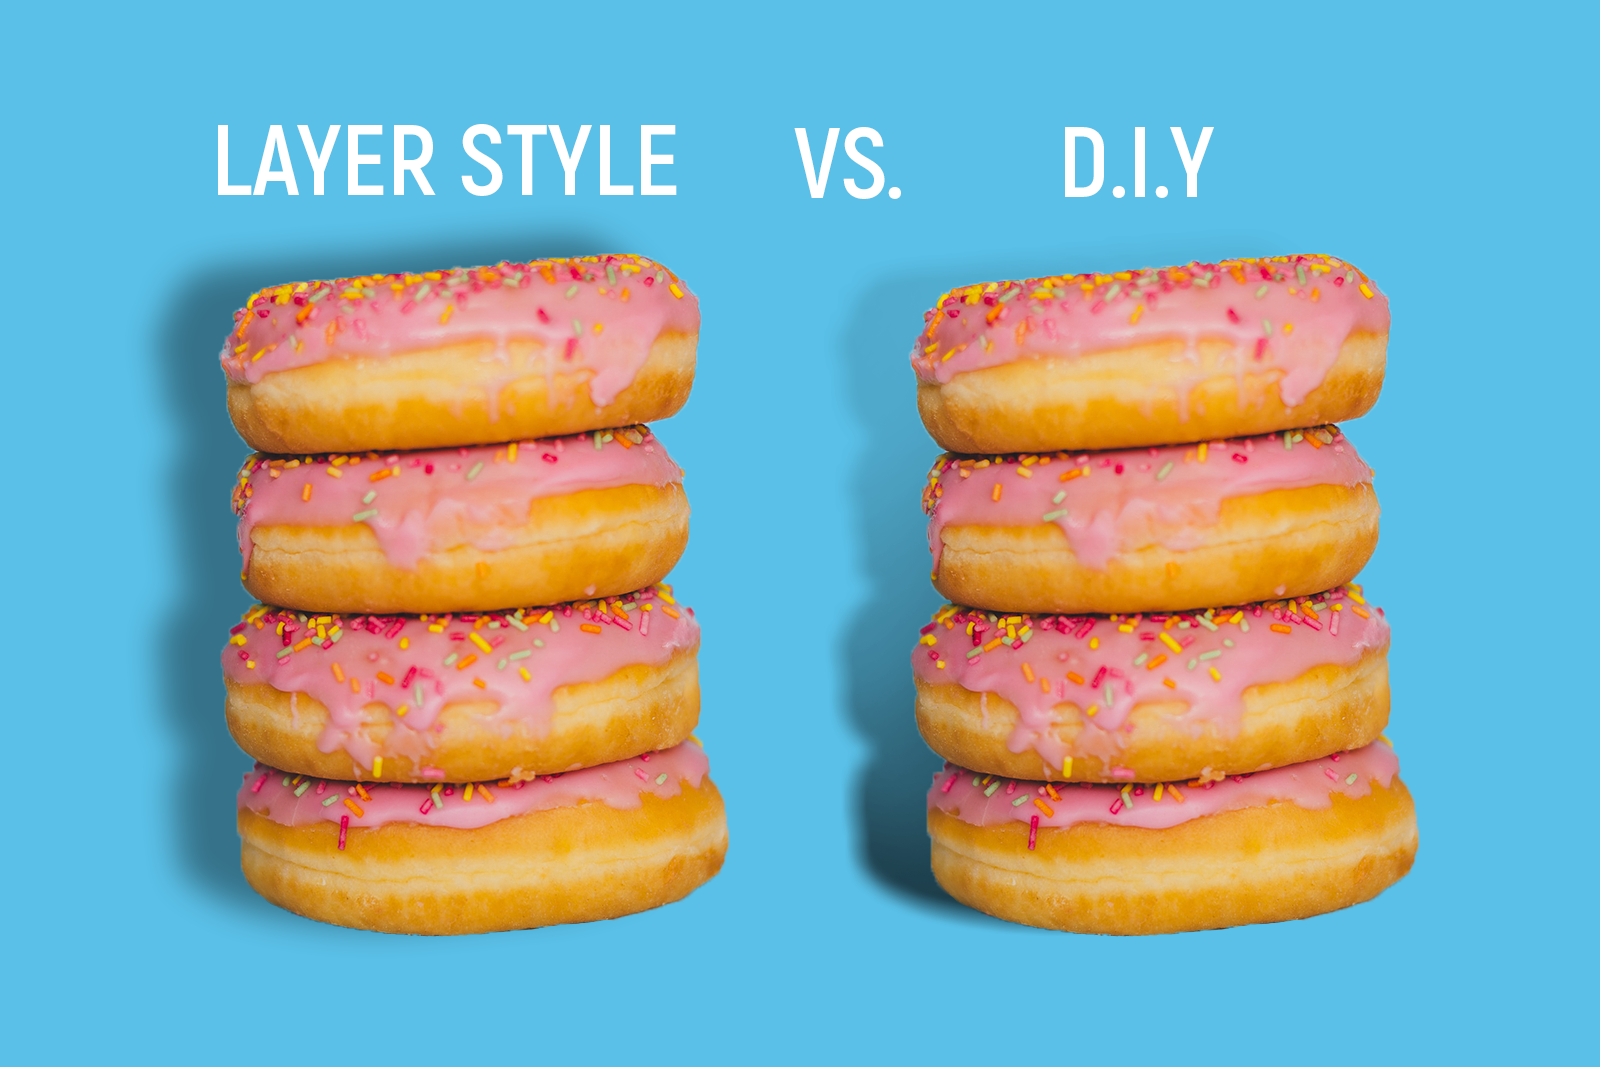
Custom Drop Shadow in Photoshop
Drop shadows are a quick way to add depth to your design. Adobe Photoshop makes it easy by providing drop shadows as a layer style. If you want to customize your drop shadow and can’t reach your desired look with the layer style option, look no further! This photoshop tutorial will teach you how to make your own custom drop shadow in no time.
Step 1: File Setup
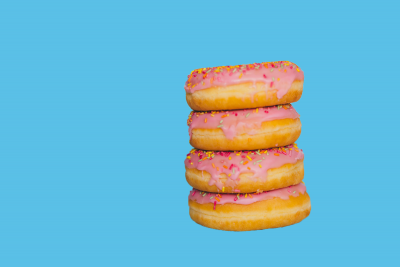
First, you need to open your image in photoshop. For this example we are using a 1080x1080 px artboard, but use whatever size works best for your specific design. Next, add a color fill layer to see how the shadow will look. If you’re not sure how you’re going to be implementing your design, or just practicing, you can keep the plain white background!
Step 2: Add Shadow Layer
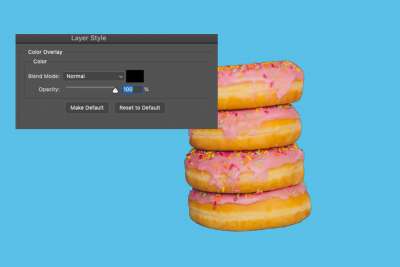
Now that your file is set up and ready to go it’s time to start creating your shadow! Duplicate your image layer and arrange it behind the original image layer. On your duplicated layer, add a color overlay. This will be under the “Layer” tab, as a layer style option. When you add the color overlay, make sure the color is set to black and the opacity is at 100%.
Step 3: Arrange Shadow
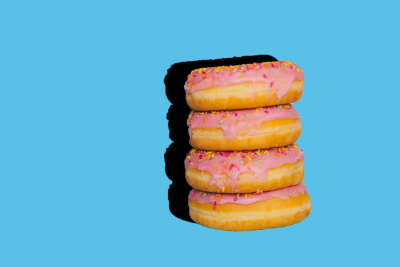
Arrange this layer on the artboard to wherever you want the shadow to be placed. In this example, the light source is from the right and close to the object. So, our shadow will be to the left and not pulled out too far from the object.
Step 4: Box Blur

To make the shadow look more realistic, we will add a box blur! Under the “Filter” tab, select “Blur” and then “Box Blur.” Adjust the blur radius until the edges of your shadow aren’t so harsh. For our shadow, we set the blur radius to “20.”
Step 5: Erase
The final step is where most of your customization will come in. Add a layer mask to your shadow layer. You can use the eraser tool, but it’s easier to edit the shadow with a layer mask. Increase your brush size so it covers about ¼ of your shadow, make sure the hardness is at 0% and the opacity is low (below 20% is recommended). Click over your shadow with the brush until you reach your desired look!
Have you seen our 2021 Social Media Size Guide?
Read about it in our Ultimate Social Media Size Guide
Download the guide below
[gravityform id="73" title="true" description="true"]
One Focus:
Keeping You Up To Date.
Digital marketing news delivered to your inbox without the fluff...Maybe a little fluff....The cute kind 🐶!


