How to Make 3D text in Illustrator
How to Make 3D text in Illustrator
Featured & Recent Articles
How to Make 3D text in Illustrator

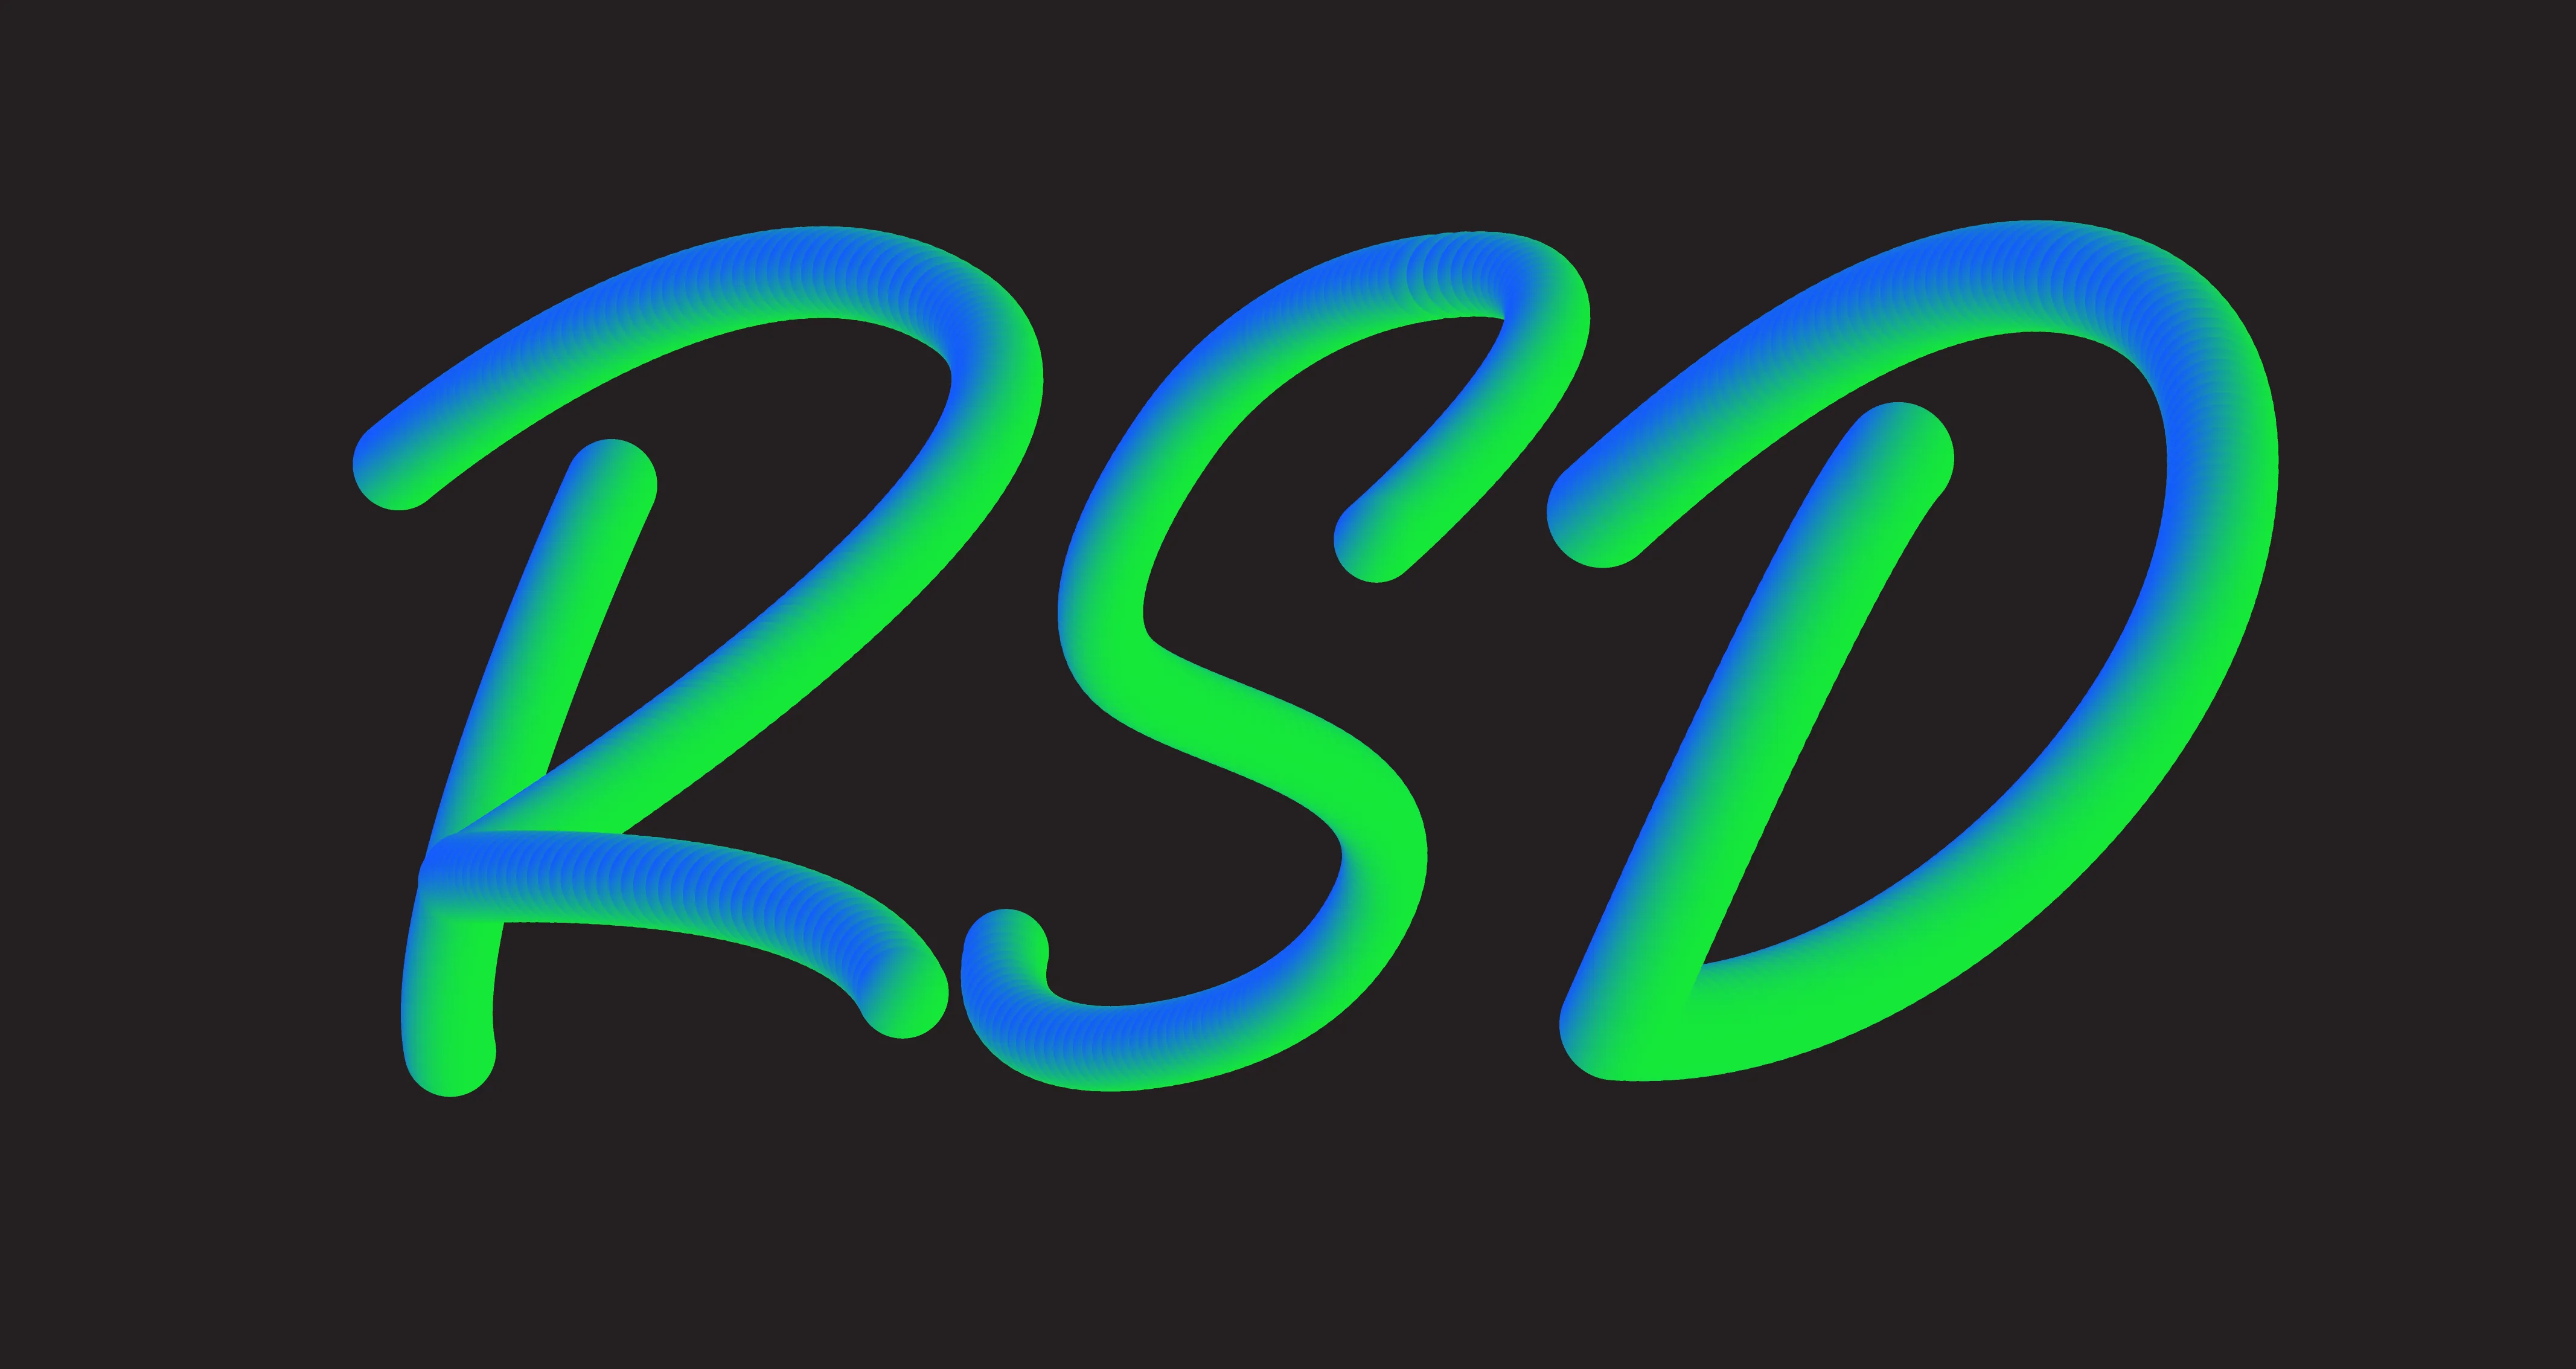
It’s no secret that gradients help your design stand out. But what about adding one to text? Sometimes that can fall flat and leave a lot to be desired. Well, look no further! Our creative services Greenville NC team has you covered. In today’s tutorial, we’re breaking down three easy steps to turn any Illustrator path into a unique 3D piece of art! Learning how to make 3D text in Illustrator is super simple and can be used in just about any scenario. Follow along with this blog or watch a creative Greenville NC pro as he walks you through the process of how to make 3D text in Illustrator. Be sure to stick around to the end for a BONUS TIP from our creative Greenville NC team!
Step One:

For the first step in learning how to make 3D text in Illustrator, start by creating two circles. Fill them with unique fills. Select both circles, then drop down the Object window, choose “blend”, and “make blend.” Our creative Greenville NC team notes that you may need to open the “Blend Options” panel in order to add more steps in between your circles to make your design more seamless.
Step Two:

Create the strokes that you would like to replace with the effect. For this example, we’ve drawn three simple letters (RSD) to demonstrate the function. We’ve also made the blend gradient smaller so that it does not make the letters hard to read in the final result. It’s also important to note here that you will need a separate blend gradient for each path you want to blend with.
Step Three:

On to our last step for how to make 3D text in Illustrator. Select one of your paths, shift-click, and select one of your blend copies. Next, drop down the “Object” menu, select “Blend”, then select “Replace Spine.” Again, here you may need to adjust the blend values in the “Blend Options” panel to achieve the look you are going for. Repeat this step across all of your paths.
Bonus Step:

You can also use the “Distort & Transform” function to add a bit more texture. Once you’ve added your blend to all of your paths, select everything and visit the “Effect” drop-down menu. From there, select “Distort & Transform” and click “Roughen.” The “Roughen Options” panel will open, allowing you to adjust the values as needed.
Red Shark Digital | Creative Services Greenville NC Experts
That’s all there is to it! Give it a try and let our creative Greenville NC agency know what you think. If you use our tutorial on how to make 3D text in Illustrator, tag us in the result! We love to see what you all can do and how creative you can be. If you found this tutorial helpful, please visit our Red Shark Digital YouTube channel and give the video a thumbs up. Subscribe for more content like this from our creative services Greenville NC team and let us know what you’d like to see next!


.webp)


.webp)
.webp)

